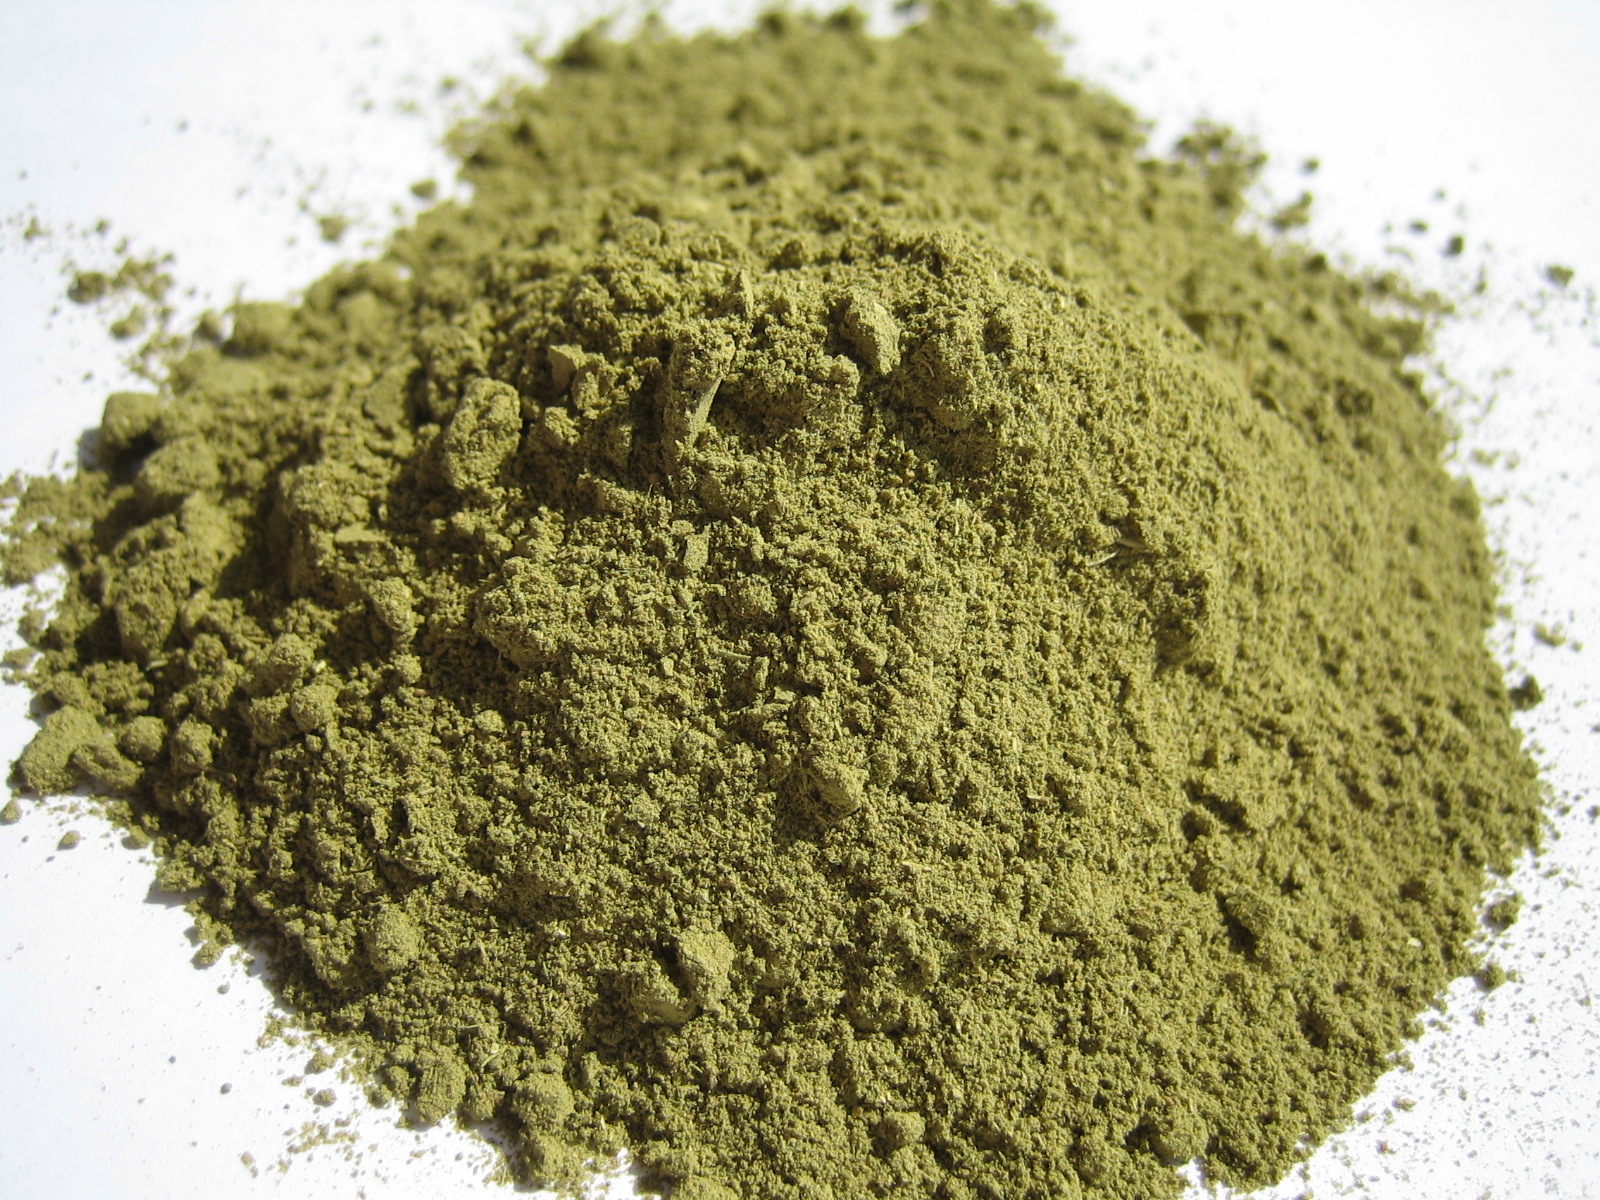
Showing posts with label henna treatment. Show all posts

Wash Day - Henna!

After my last roller set got completely destroyed by the humidity, I decided I was going to go ahead and put my hair away in a protective style for awhile. I knew I wanted twists, but I wasn't sure what kind. Anyway, I like to henna my hair right before I install a long-term protective style to give it an extra boost of strength and deep conditioning. I have been doing these treatment about every two months, but decided to push this one back some because I wanted some more new growth. 

{1} I used the same steps from my last henna treatment to prepare the mix. (Here's my henna gloss recipe) I did this first to give it some time to marinate before I was ready to use it, although I wasn't very concerned about dye release this time. 

{2} Finger-detangled and divided my hair into three sections.

{3} Pre-poo with PM Tea Tree Moisturizing Conditioner and a mix of safflower & grapeseed oils. I put on a plastic cap and a scarf for a couple hours while I did things around the house. 

{4} Towel wrapped my hair for about 20 minutes to soak up the excess water. This is also the step I added the extras (honey and Tresemme Naturals conditioner) to my henna mixture. 

{5} Applied the henna to my hair, section by section, from root-to-tip. I apply my henna standing in the bathtub for easy clean up if I make a mess. I put on two plastic caps once I was done. 

{6} I left the henna in my hair for about an hour - 20 minutes of that was spent under my bonnet dryer on low. 

{7} Rinsed thoroughly in the shower. Once the water started running close to clear, I added a very generous amount of Tresemme Naturals to my hair with a plastic cap. This helps get any leftover henna rinsed out. I rinsed after around 10 minutes. 

My hair felt so mmm mmm good at this point I didn't want to deep condition. I told myself to just do it anyway to ensure I didn't experience any drying effects from the henna so I got out the shower at this point. However, my hair made me change my mind back to the original thought. 

{8} Towel wrapped my hair to soak up excess water. 

{9} My hair still felt so good that I decided to forgo my usual moisturizing deep condition and ACV rinse. My compromise was using Shea Moisture Raw Shea Butter Restorative conditioner as my leave-in. I used this with Elasta QP H2 leave-in, grapeseed oil and my shea butter mix. Detangling was a breeze like it always is on henna wash days and my hair felt ah-mazing!! I hope my love affair with henna never ends. 


left: attempt at capturing the color; right: air-drying method

{10} I wanted my hair to be stretched to make it easier for me to twist it up. I ended up just letting it air-dry ponytailed in the same three sections, which worked surprisingly well for me. 

Even though it was more work than my typical wash days, it was such a great one! I cannot boast of my love of henna enough. My hair seriously thanks me every. single. time. It just feels so good that it's worth the work the smell and the mess to me. I got a slight brown tint to my naturally black hair this time. I'm not even sure how noticeable it is. After much indecision and trial & error, I went for Senagalese Twist/crochet braids. I ended up running out of hair at the the very end so I will be finishing it tomorrow and then posting about the style. Here's a blurry sneak peek until then! :)


How was your wash day this week? Be sure to check out other wash day experiences over at SavingOurStrands and JustGrowAlready!

Wash Day - Henna & Flat Iron

Since my hair wasn't feeling the greatest after taking down my crochet braids, I knew this wash day had to be an extra loving one. I decided I wanted to henna my hair before doing any more protective styling so I knew that needed to be on the agenda, too. 

{1} Divided my hair into about 7 sections. Pre-poo with hot oil (grapeseed, olive, safflower) and Aubrey Organics Island Naturals Replenishing on the length of my hair. I left it in overnight with a plastic cap and scarf. 

{2} Next morning, shampooed with CON Argan Moisturizing. Ended up lathering 3 times because it didn't lather initially, and my hair wasn't feeling very soft & clean after the first time. It felt pretty good after the third time though. 

{3} I sat with towel wrapped hair for about 15 mins to soak up excess water.

And then... for the second week in a row I found my new growth coiled up on itself. Ugh. It's not quite a tangled mess, but it gives the appearance of being matted and can really freak a girl out if she's not careful! Last week, I thought maybe this whole effect was due to my hair being braided up in crochet braids for about 3 weeks. Nope! With it happening again, I know it's simply a new, disrespectful habit that my new growth has picked up. And I am not a fan. I'm only a little over 9 weeks post, but umm... this new growth is serious! Which is awesome, but it meant I had to detangle my hair before I put henna in it so it wouldn't just be all clumped together as I was trying to apply it.

{4} Finger detangled for close to an hour!

{5} Henna! I used a new kind, Godrej Nupur Mehendi, which is a pretty popular brand with 9 extra Ayurvedic ingredients added to it. I've been wanting to try it for awhile. I mixed it up the day before - using my usual henna recipe, except I only added a spoonful each of honey and Tresemme naturals conditioner for the second mixture. 

{6} Deep conditioned with Silk Dreams Vanilla Cream Moisture Dream and Organix Argan Oil Moisturizing deep treatment for about 1.5 hours with a plastic cap & scarf. 

{7} Rinsed my DC with cool water and did an ACV rinse with cooler water.

{8} Detangled with ease. I am sure the smoothing effect of the henna helped keep my hair from getting tangled again. I didn't really loose any hair, which is normal on days when I henna, too. #reasonsIlovehenna!

{9} I applied Aphogee Green Tea & Keratin, Elasta QP H2 and Organix Anti-Breakage Coconut Milk Serum as my leave-ins. 

{10} Tension blow dry on low

{11} Flat ironed on medium heat with Babyliss Pro Titanium


I flat ironed solely because I wanted to check my ends. I didn't use a lot of heat or get it completely straight since I wasn't trying to do a length check and knew I would be sweating it up soon. I must say I am LOVING the thickness of my hair!! With my nape progressing nicely, I feel like my hair is going to a whole new level of health. Yaaay!! Unfortunately, I was right about my thin bone straight ends... they're ready to go. I think they're begging me to chop them off, even though I was really tryna go for the gradual trimming. I just HATE the sight of those ends in comparison with the rest of my hair. They're probably not even that bad, but I just prefer the look of fresh, thick ends. We shall see when I relax next month. 


How was your wash day this week? Check out other wash day experiences at SavingOurStrands and JustGrowAlready

Wash Day - Henna Gloss Treatment (24 wks post)

After I finally decided I'm ready to relax my hair, I thought about the fact that I
haven't henna-ed it in awhile either. So, I figured I would go with a henna treatment before I go for my next relaxer. (Plus I hadn't even purchased a relaxer kit yet.) So, this idea worked out well! Since my last henna gloss went so well, I repeated the recipe and steps almost exactly. Here's how it all went down:

{1} Pre-pooed overnight with Aubrey Organics Honeysuckle Rose and grapeseed oil. I sectioned my hair and braided it up into 8, 4 in the front & back.

{2} Washed my hair while it was still braided, using CON Argan Oil Moisturizing and Shea Moisture ABS Deep Cleansing Shampoo.

{3} I mixed the initial henna mixture (henna powder, green tea & ACV) the night before
so after washing, I added the conditioners and oils to it while my hair was wrapped in a towel to soak up the excess water. You can find my recipe in this post.

{4} I unbraided my hair one-by-one apply the henna to each section before moving on to the next. Best idea ever! I felt like I moved through my hair so much more efficiently doing it this way.

{5} Put on 2 plastic caps, a scarf and sat under my bonnet dryer for about 45 minutes aka too long. The last time I sat under it for about 30 minutes and was fine, but this time it started running down my neck! It's never happened before and it was kinda gross, but I had to laugh at myself. Lesson learned. Next time I'll pay more attention to the time passing.

{6} Rinsed with cool water and then using HE Honey I'm Strong conditioner. In this step, I continue adding conditioner to my hair and rinsing until the water runs clear.

{7} I tried to wring all the excess water out of my hair I could and then added Paul Mitchell Tea Tree Lavender Mint Moisturizing conditioner (1st use). I put on a plastic cap for about 10 mins before rinsing with cooler water.

{8} Did an ACV rinse using a spray bottle and rinsed with cold water after a couple minutes.

{9} T-shirt dried for about 30 mins.

{10} Applied my leave-ins, Elasta QP Silk H2, grapeseed oil, Shea Moisture Raw Shea Butter Restoring conditioner, and Organix Coconut Milk Anti-Breakage Serum and detangled. Detangling was a breeze and I lost virtually no hair this wash day.

{11} I let my hair continue drying in loose bantu knots... out of laziness

I let this wash day drag out all day because I was just lounging around the house, not caring too much. It went so well, too! My hair felt great, new growth didn't give me any problems... it was a good hair day. First impressions of the Paul Mitchell conditioner are pretty good - liked the scent and the way my hair felt after only 10 minutes. Oh and I didn't really notice a color change in my hair from the henna yet. Well see if it shows up later.

Wash Day - Box Braid Prep

This particular wash day I wanted to focus on strengthening and conditioning my hair because of the fact that I was having box braids installed the next day. I haven't had braids since I was a child. So, I wanted to make sure I did a little extra to boost my hair's strength and prepare it for this long(er) term protective style. Here's how the day went:

{1} I separated my hair into 4 sections. I do every step of my wash day in these 4 sections. This is also when I started my initial henna mixture.

{2} I pre-pooed using Aubrey Organics Honeysuckle Rose Conditioner and a mixture of grapeseed and coconut oils for about 30 minutes with a plastic cap.

{3} Rinsed and shampooed with Shea Moisture ABS Deep Cleansing and CON Argan Oil Moisturizing shampoos.

{4} After letting the excess water soak up in a towel, I added the conditioners & oils and, using gloves, applied my henna gloss treatment while standing in my tub. I did not feel like covering my bathroom with newpaper again and knew it would be easy to clean up any splatter this way.

{5} I sat under my bonnet dryer for about 30 minutes then let my hair cool for a few minutes before going to the shower rinse.

{6} After rinsing, my hair felt strong, yet still soft, but I decided to apply some moisturizing conditioners anyway. Just to be safe. I used Aubrey Organics Honeysuckle Rose (yes, again! I need to review it) and Organix Argan Oil Deep Moisturizing Conditioner. Both of these conditioners have instructions of 2-5 minutes and I feel they actually work in a short amount of time. I put on a plastic cap for maybe 10 minutes and rinsed again.

{7} I t-shirt dried my hair for 30 minutes then began detangling.

{8} As I detangled, section by section, I also applied my leave-ins, Aphogee Green Tea & Keratin Restructurizer and Elasta QP H2. 

{9} At this point, my hair was about 70% dry. I wanted to blow dry it (on low) so that my my new growth and texture did not present any tangling problems to whomever was going to be braiding my hair. I wanted to make it as easy on them as possible to get thru all this hair of mine. 

{10} After doing a quick once over with the dryer, I decided to add Shea Moisture Raw Shea Butter Restorative Conditioner, which can be used as a deep conditioner or a leave in, and a little grapeseed oil. My hair just felt like it was going to need something more by the time I was done. I then finished getting my roots together with the blow dryer. 


My hair seemed huge! It felt great and the color was much more noticeable than it was before. It's like a deep, richer burgundy color. Yesss! Very successful wash day. I felt like my hair was in great shape for its upcoming box braid installation.  


Henna Gloss Treatment


I did my second henna treatment, this time deciding to go with more of a gloss instead of a full treatment like the first time I did it. A henna gloss is not as strong because of the use of conditioners and/or oils that reduce its drying effect. It also doesn't require a long time for dye release. I definitely wasn't concerned with getting a color change this time. I just wanted a little more of a strengthening treatment knowing I was about to get box braids, and knew I hadn't used henna since September. I think about every two months works well for me when it comes to using henna. 

So, I varied my recipe a little bit. Many ladies make 50/50 mixture of henna/conditioner&oils when doing a gloss, but mine wasn't quite that diluted. Here is the recipe:
  • 1 cup of henna (about 200g)
  • A little less than 2 cups of green tea (steeped with 4 bags)
  • 2 tablespoons ACV
I mixed this together until I was sure all the powder had been mixed in, leaving the mixture pretty thick. I knew that mixing in the conditioner and oils was going to thin the mixture out some, so I did not want to put too much liquid in initially. You can always add more later, but once it's in, there's no going back. I let this sit for about 45 mins then added my conditioner and oils. I was surprised the mixture had already changed colors in that short amount of time. Here's what I added, a very heaping tablespoon of:
  • Coconut oil
  • Olive oil
  • Silk Dreams Vanilla Moisture Dream Conditioner
  • Shea Moisture Raw Shea Butter Restoring Conditioner
  • Organic Honey

This was the perfect amount to bring the mixture to the creamy consistency that I like. I applied it on freshly washed hair (in sections) just like I would a deep conditioner. I put on two plastic caps and sat under my bonnet dryer for about 30 minutes. I rinsed with some Herbal Essences Conditioners, Hello Hydrations & Honey I'm Strong, until the water ran clear. Definitely didn't spend as much time rinsing as I did the first time around. I followed up with a quick conditioning session just to be sure my hair wasn't too dry. That's it! It was a very quick use of henna, which I wasn't sure was possible.

During both of my henna treatments, I've noticed how much more the mixture absorbs into my new growth vs. the length of my hair. It sinks right into my new growth so much that sometimes I feel like I didn't apply it there and put more on the same area before I realize it's just being absorbed. I would think that my previously relaxed hair would be more porous, absorbing more of the mixture than my unprocessed new growth. However, that is not the case. 

So, the question is... was it effective? Answer: Yes! Score! My hair definitely felt stronger after rinsing and conditioning. Also my hair ended up changing color anyway. I surely didn't expect that. Like it's a noticeable change without being in direct sunlight. Yay! I like it. Perhaps using the apple cider vinegar combined with using heat? I really don't know why it turned out brighter with a much shorter application, but I am not complaining. I love color! I'm convinced henna is now a regular part of my regimen.  


1st Henna Treatment

A lot of the advice I read warned against doing a pure henna treatment if you have no experience with it and recommended starting with a henna-gloss. The difference between the two is adding products such oils, conditioners or anything that will help combat the drying effects of henna and/or help with texture of the mixture. I opted to follow that advice.

The package of henna I purchased was 1lb so I definitely didn't have the advantage of emptying a package knowing I had 100g of henna powder. I found that 3/4 cup was about 150g of henna powder so I used 1.5 cups (around 300g) of the powder for my mixture. Since I have never used it before and planned to apply from root to tip, I figured it was better to have too much than not enough. I could always save whatever I didn't use. Here's the recipe I mixed for the dye release:
  • 1.5 cups (300g) of pure henna powder
  • 2 cups of green tea (steeped with 4 tea bags)
  • 1 tablespoon lemon juice 
henna mix at different stages [click to enlarge]

I slowly added the green tea into the powder, mixing as I poured it. (I actually made 3 cups of tea because I was unsure of how much it would take, but only ended up needing to use 2.) Once all the powder was mixed, I added the lemon juice. I mixed everything together with a plastic spoon in a plastic bowl. Henna is known to have a negative reaction with metal so it is best to not use metal in the mixture. I, then, covered the bowl tightly with a shower cap to allow the magic to happen. Dye release can take anywhere from 12-24 hours. I had every intention of only letting it sit for 12, but after working on another project I fell asleep and applied the henna in the morning. So, it sat for 24 hours. The mixture went from a dark green to brown with red tinted liquid on the top. If I would have just stirred the mixture up again and applied to my hair, this would have been considered a pure henna treatment. However, I added a few more ingredients to combat dryness and make it a little easier to work with creating a gloss. Here's what I added:
  • 2 tablespoons organic honey
  • 1 [heaping] tablespoon coconut oil
  • 1 tablespoon olive oil 
I thought about adding a conditioner as well, but decided against it. These 3 made the mixture creamy (but still thick) and easier to work with. They did nothing for the smell though. I will just throw in the fact that I do NOT like the smell of henna at all. It smelled like fish food, dirt and hay. That smell came for me as soon as I opened the package, too. Ugh. I don't know if there's a way to mask that smell, but if there is, I will have to find it. I put vaseline around the perimeter of hair just to make sure I didn't dye my skin. I separated my hair into four section, used gloves and applied from root to tip like you would a relaxer to a head of virgin hair. Because of the thickness of my hair and wanting to make sure all of it was covered, I took my time applying the mixture. It took about 45 mins start to finish. I covered my hair with two plastic caps and a scarf, letting the gloss sit on my hair for about 7 hours. 

  Now for the fun part...rinsing! I hopped in the shower to rinse my hair, armed with a couple bottles of Herbal Essences conditioner. I think the creaminess of the mixture after adding the oils definitely helped make it easier to rinse out. I rinsed section by section, again, taking my time. I did not want to risk getting out the shower and still having henna in my hair so I rinsed until the water seemed to run clear.  Then applied conditioner and let it sit for a few minutes, rinsed again and repeated. My hair actually did feel noticeably stronger at this point. Score! The henna hype is true.

Final step was deep conditioning. I used a concoction of a few of my fav moisturizing conditioners: Silk Dreams Vanilla Cream Moisture Dream, Aubrey Organics Honeysuckle Rose, and Beautiful Textures Moisturizing..... I also added some coconut oil and a few drops of peppermint oil to help make sure my hair didn't have an after smell. Put on a plastic cap and scarf and sat for 1.5 hours. My hair felt great after rinsing!

I took a few pics as my hair dried to see if I could notice a color change. I did slightly. Henna takes a few days to "set" into hair, so I took more throughout the week. I can only see a change on my color-treated ends (of course) and in the sunlight, but I had a hard time trying to capture that with my camera. Either way, I didn't expect too much of a color change since my hair is black anyway. 

Even though this process does require a time commitment, I don't think it HAS to take a full day of my time. I had no idea how this was going to play out though, so I did this on a pretty lazy day. I think next time I will apply late in the evening so it can stay on overnight then rinse and deep condition in the morning. I definitely think this is something that I will continue doing, I just haven't decided how often. Monthly? Bi-monthly?? Around relaxer time??? I dont know. We'll see.

Henna & Ayurvedic Hair Care

source
Henna is widely known for its use in body art and temporary tattoos, but not so much for its use in healthy hair care. Using henna for your hair is part of an ayurvedic hair care regimen. Ayurveda is the ancient Hindu art of medicine and of prolonging life. It is a holistic approach to whole body health and wellness. For example, with this mindset, healthy hair starts with a healthy body, mind and a life as stress-free as possible. An ayurvedic hair regimen is an all-natural one, involving plants (powdered), herbs and oils. However, it doesn't necessarily eliminate all other types of products from one's hair care, instead it incorporates these particular kinds of ingredients and techniques into it. 

So, what is henna exactly? Henna is a flowering plant, Lawsonia Inermis, that grows as a shrub or small tree. It grows in warm, dry, and/or desert-like climates. The leaves of the henna plant contain lawsone, which is a red-orange dye. Lawsone is not only responsible for the dyeing properties of henna, but also for its strengthening properties. It has the ability to penetrate the hair shaft and bind to the keratin in the strand. It also has anti-fungal properties. Archeological finds say that it has been used both as a hair dye and for body art for over 6000 years in both Egyptian and Indian cultures. 

How does henna benefit your hair? The anti-fungal properties help refresh and keep your scalp free of dandruff, which is great. What really makes henna so beneficial, though, is the ability of lawsone to bind to the keratin in hair. One of the major effects of this binding is a color change. It will produce a combination of the reddish color it holds and your natural hair color. However, it will not lighten your hair. It may brighten it, but you are more likely to get a result darker than your natural color. This new bond also produces stronger hair. Not only does it bind with the keratin, but it also coats the strand to fill in rough or porous spots on the cuticle. This action can make hair smoother, shiner and more resistant to damage from every day manipulation. Because of the fact that henna is a permeable plant resin, this coating of your hair will not block out moisture. Last but certainly not least, all these benefits come from applying a completely natural product to your hair. No worry of any chemical damage!

source

Are there any negatives to using henna? There are a few things about using henna that can be seen as cons. The first being the messy application process. Depending on your mixture and amount of hair, it can be really hard to apply (especially getting it evenly applied) and tiring. That can make it hard to rinse out, as well. There also has to be a lot more time allotted for dye release and for it to be left on your hair vs. other chemically based treatments. As with everything in establishing a hair regimen, you never really know what your hair likes best until you try it out...a few times. It may take some experiments to find you perfect mixture, dye release time, application and rinsing methods and all of that fun stuff. Another major issue is the drying effects of this treatment. Even though it is not one, henna mimics a protein treatment. So, it is very important to always follow-up with a moisturizing deep condition and some find it best to add moisturizing products such as oils and conditioners to the henna mixture itself. 

There are also a few things that people may see as pros, cons or be indifferent about. I, for one, found the smell to be a con. I'll talk about that more in my experience with it, but some people actually like it. It smells earthy to say the least. For naturals particularly, some experience a loss or loosening of their curl pattern. This could be a problem for some, great for others in reducing shrinkage, or you may not experience it at all. Finally, the color produced by henna is variable. It may change depending on: the light you're in, your natural hair color, the mixture you create, dye release time, etc. For some, it may be frustrating having a hard time reproducing the same results. For others, you may not experience much of a color change at all, so this wouldn't matter to you. 

I wanted to give an overview of henna and its benefits before discussing my experience with it. In case anyone was wondering about it. Hopefully, this will answer the main questions you may have about using it. Doing more research on it definitely confirmed why I wanted to use it in the first place. It also caused me to be a little more interested in ayurvedic hair care than I already was. 


Have you tried henna or are you planning on it?
Powered by Blogger.